Dota 2 support map reading without perfect vision
Combine waves, missing heroes and objectives into better warding decisions.

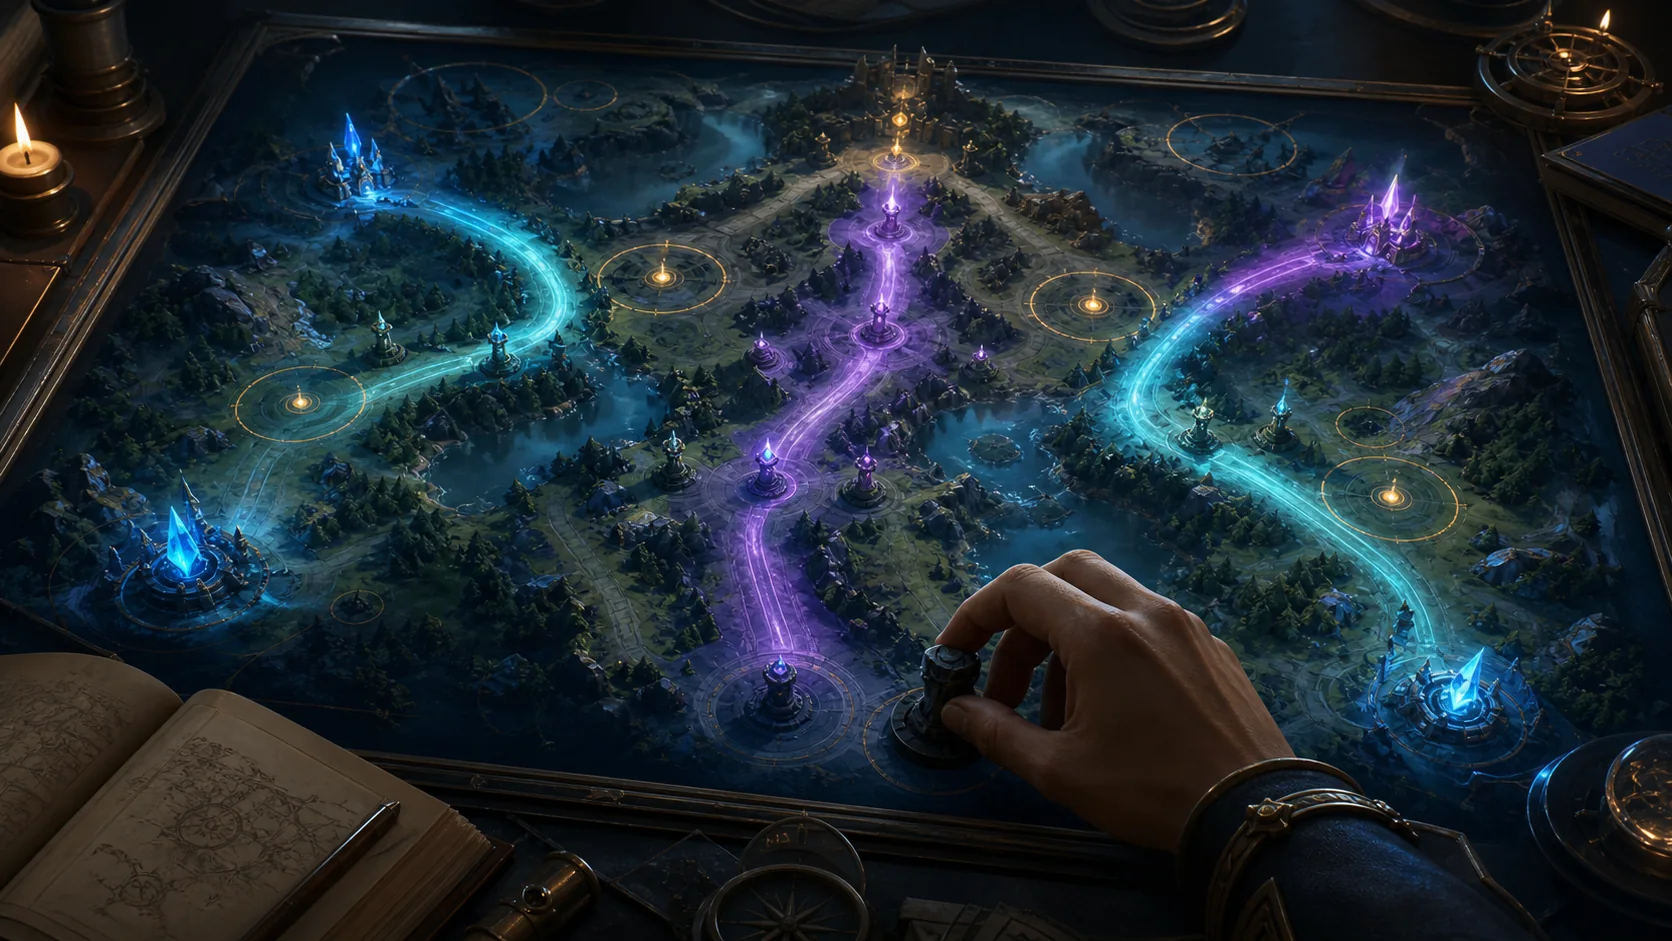
This Dota 2 support map guide is for players who feel blind whenever wards expire. You will learn to read waves, missing heroes and objective timing as a single information system, then use that read to place fewer wards in better positions.
Vision is evidence, not certainty
A ward shows what crosses its area; it does not prove the rest of the map is safe. Good support play combines visible evidence with negative space. If three enemy cores are missing, a deep ward sees nobody and your off-lane wave is pushing toward them, the empty screen is already telling a story.
Ask what the opponent wants during the next minute. A carry wants a safe wave, a team with a timing item wants a fight and a lineup with strong objective damage wants access to the pit. Your ward should challenge that plan rather than decorate a familiar cliff.
Step 1: read the next two waves
Before moving, inspect the side lanes. A wave close to your tower will arrive safely; a wave crossing the river will soon demand attention. Heroes tend to appear where gold and experience are about to become available. That prediction is more useful than chasing the last icon you saw.
Count roughly how long it takes your teammate to clear and leave. If the enemy can connect from fog before that window closes, ping the route and prepare a defensive ward behind the farming area. If your team wants to punish the response, ward the approach instead.
Step 2: track who can start the fight
You do not need the location of all five opponents. Identify the two heroes that can begin a kill and the one hero that converts it into an objective. If both initiators showed bottom ten seconds ago, your mid player has a short window to pressure. If neither has shown, treat the nearest fog route as occupied.
Use neutral item, rune and teleport timings as supporting clues, not gospel. Players miss timings. The safest read comes from several weak signals pointing in the same direction.
Step 3: place wards for a decision
- Name the decision: farm, smoke, defend or contest.
- Choose the route that would invalidate that decision.
- Place vision that reveals the route early enough to react.
- Leave through a different path whenever possible.
A ward that spots a gank after it has already reached your carry is visually impressive and strategically late. Measure vision by reaction time created, not by the number of heroes briefly revealed.
Smoke reads without guessing
When several enemies disappear together, compare lane behaviour. A smoke move often leaves one hero showing deliberately while two waves go unattended. Check which objective is vulnerable, then stand behind the teammate most likely to be targeted rather than walking alone into the suspected route.
Do not announce certainty you do not have. “They are smoked top side” is weaker communication than “three missing, top wave ignored, play behind our off-laner.” The second call carries the evidence and suggests an action.
A six-minute review exercise
After a match, watch six minutes without player perspective. Pause every 30 seconds and predict where the next fight will happen. Then resume. Write down which signal you missed: wave position, a revealed teleport, an objective timer or a support leaving vision.
Repeat with one professional replay, but copy the reasoning rather than the ward coordinate. Terrain, drafts and patches change. The decision tree survives. Pair this exercise with our clear comms guide and wave reset framework for another view of map pressure.
Common warding mistakes
High ground is not automatically valuable. A familiar cliff can be easy to deward, too late for a reaction or irrelevant to the next objective. Start from the decision and work backward to the location. A lower, less obvious ward that sees the entrance earlier may do more work.
Do not place two wards that answer the same question. Overlapping vision can be useful during a siege, but ordinary map control needs complementary evidence: the route into the area and the escape from it.
Playing when every lane is dark
When the map offers no safe information, stand behind the next allied action. Protect the core who must reveal for a wave, prepare a counter-initiation spell and let the opponent cross into your controlled space. Walking uphill alone is not “checking”; it is offering the enemy a free beginning.
State the uncertainty in the call. “No vision top, play behind carry” gives teammates both the risk and the response. If the enemy does not appear, your team still completed a safe wave rather than gambling a support life for a glimpse.
Before you queue
Choose one enemy initiator to track and one allied core to protect. This reduces a complicated map to two moving questions: where can the fight begin, and who must show for the next wave?
After each death, avoid reviewing the ward first. Rewind ten seconds and identify the decision that brought you into the area. If the purpose was unclear, the placement cannot rescue it. If the purpose was sound, check whether the ward created enough reaction time and whether you left through a different route. This order separates strategic mistakes from mechanical ones and gives the next ward a concrete job.
Sources and update note
Official Dota 2 gameplay updates
This article was manually reviewed on July 27, 2026. Generated editorial artwork is credited to Kaizensclan.
Editorial note
- Official update notes and Kaizensclan editorial testing
This article was reviewed on July 27, 2026.

Related stories
Dota 2 Watcher control guide for patch 7.41e
Dota 2 Watcher control is useful when it protects the next movement, not when a support activates every structure on cooldown. Patch 7.41e is the reference.
Dota 2 Twin Gate rotation guide for patch 7.41e
A Dota 2 Twin Gate rotation trades travel time for commitment. Patch 7.41e is the reference version. Use the gate when the destination creates a numbers.
Dota 2 courier control guide for patch 7.41e
Good Dota 2 courier control protects a timing rather than chasing perfect convenience. Patch 7.41e is the reference version. Each player owns a courier, but.
Community channel
Join the discussion
Start a thoughtful, specific conversation about this story.
Verified readers only
Continue with Google to comment.
Your Google account creates a reader-only Kaizensclan profile. Your first comment is reviewed before publication.